Project Wizard

Open "Project wizard" window by selecting menu item "Project | Create New"
or click on toolbar button Wizard1_XP.
1) Pages of "Project wizard" window:

a) Create project
b) Select folder type
c) Select folder location
d) Select include files
e) Select exclude files
f) Add new folder - summary
g) Add new folder
h) Select target drive (folder)
i) Select backup type
j) Default selection rules and compression level
k) Tune schedule
l) Full backup schedule time
m) Incremental backup schedule time
n) Security
o) Shortcuts for "One Click" manual backup
p) Final step

2) Using "Selected file types" template

1) Pages of "Project wizard" window
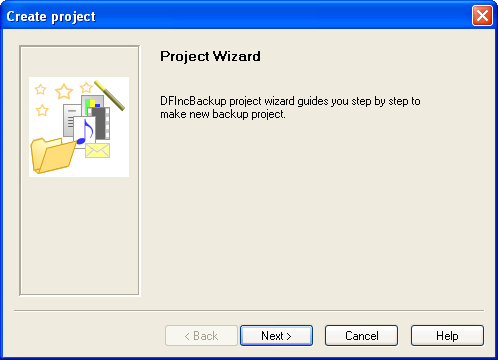
a) Create project

SC_PrjWizard2

  1. To create a project with the wizard press "Next".
  2. To escape press "Cancel".


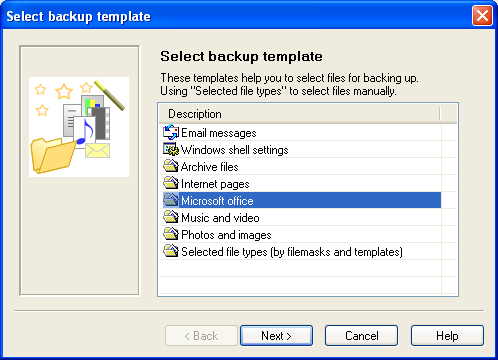
b) Select backup template

SC_PrjWizard3

  1. Select template, which you will use to add folder(s) to new project. 
  2. Press "Next" to continue.

This list shows all templates which are available in the configuration dialog
Last project template is special:
Selected file types - allows using custom file masks and templates simultaneously. 
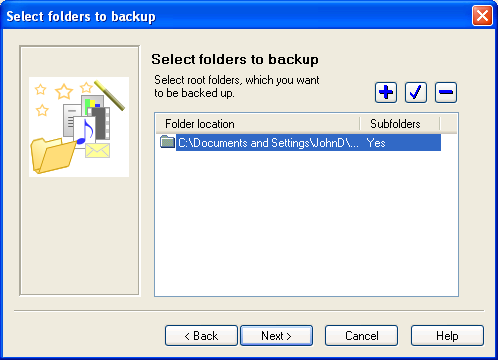
c) Select folders to backup

SC_PrjWizard23

  1. Select those folders with files you want to backup. Enter path manually or press "Browse".
  2. Check "Include sub folders", if you want to include subfolders in the archive.
  3. Press "Next" to continue.

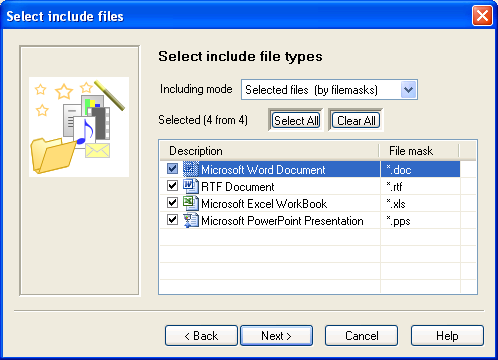
d) Select include files

SC_PrjWizard5

  1. Select required file masks using checkboxes. Use buttons "Select All" and "Clear All" to quickly select and deselect all items.
  2. Select include mode by combobox:
    1) Selected files - include only files, which match the included file masks from list.
    2) All - include all files except those that match the excluded file mask list  (tab "Exclude files").
  3. Press "Next" to continue.

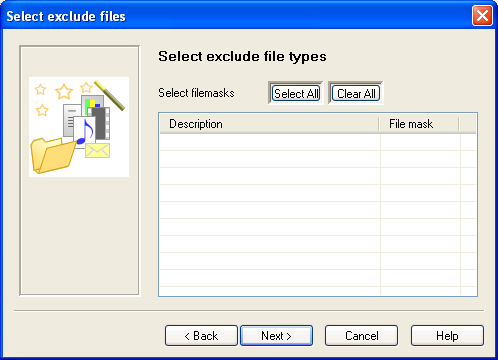
e) Select exclude files

 SC_PrjWizard6

  1. Select required file masks using checkboxes. Use buttons "Select All" and "Clear All" to quickly select and deselect all items.
  2. These file masks are used to exclude files from backup archive.
  3. Press "Next" to continue.

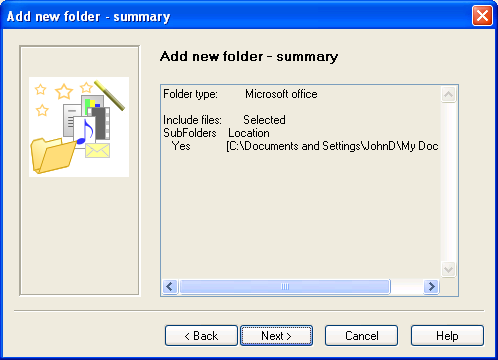
f) Add new folder - summary

 SC_PrjWizard7

  1. Look at summary info for adding new folder to project.
  2. If you need to correct parameters on previous pages, press "Back".
  3. Press "Next" to add folder. 
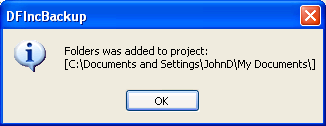
  4. Information window appears. Press "OK" to continue.

SC_PrjWizard8

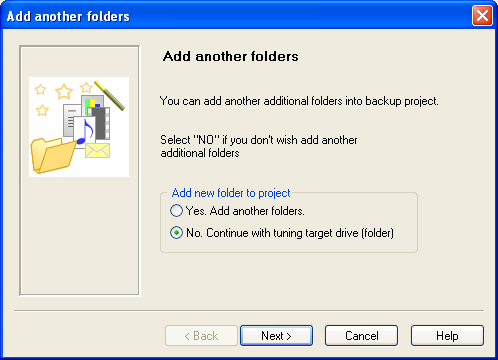
g) Add another folders

 SC_PrjWizard25

In this window you must select your next actions:
a) Tune target drive (folder) with wizard: select "No. Continue with tuning drive (folder)" and press "Next".
b) Add one more folder to project: select "Yes. Add another folders" and press "Next".

h) Select target drive (folder)
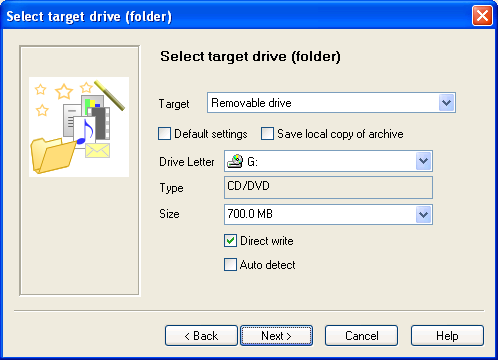
SC_PrjWizard24

a) Select target: "Removable drive", "Local disk only", "Folder on local disk, network, etc.".
b) Check "Save local copy of archive" to store copy of archive on local disk, when 
    target is removable drive or network folder.
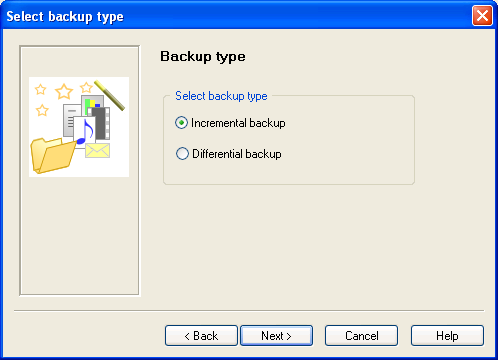
i) Select backup type

SC_PrjWizard27

Select backup type:
a) Incremental - Each time only changed files will be saved. All previous incremental archives and full backup archive need to restore.
b) Differential - Each time it will save files, which was changed since full backup. Only full backup archive need to restore. 

j) Default selection rules and compression level
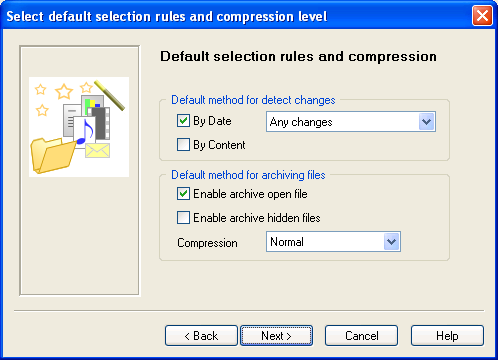
SC_PrjWizard26

a) Select method for detect changes of files. This methods will using by default for all root folders and subfolders.
b) Enable/Disable archiving open and hidden files.
c) Set compression level: No compression, Normal, Fast, Maximum.
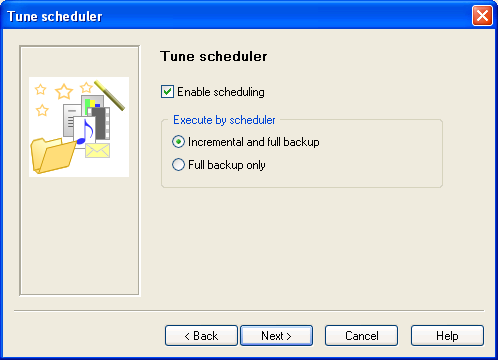
k) Tune schedule

SC_PrjWizard20

In this window you must select your next actions:
a) Select Backup type and press "Next" to tune schedule time.
b) Finish work without schedule tuning - deselect "Enable scheduling" and press "Finish".
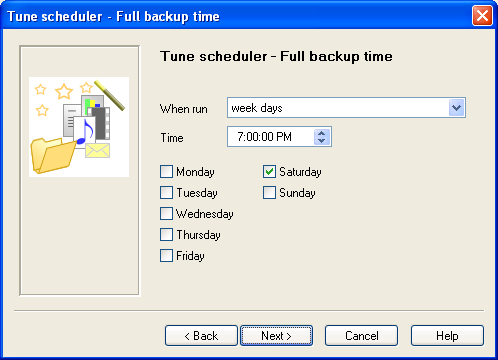
l) Full backup schedule time

SC_PrjWizard21

Tune schedule time to begin full backup.

m) Incremental backup schedule time
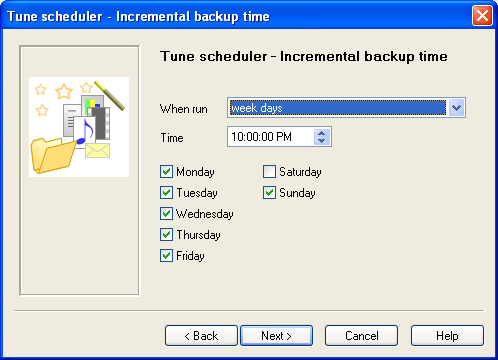
SC_PrjWizard22

Tune schedule time to begin incremental backup.
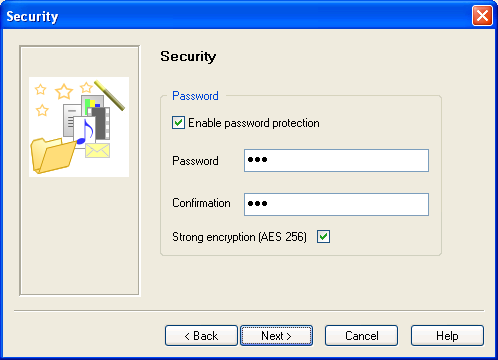
n) Security

SC_PrjWizard31

If it need, check "Enable password protection" and enter password into fields "Password" and "Confirmation".

o) Shortcuts for "One Click" manual backup
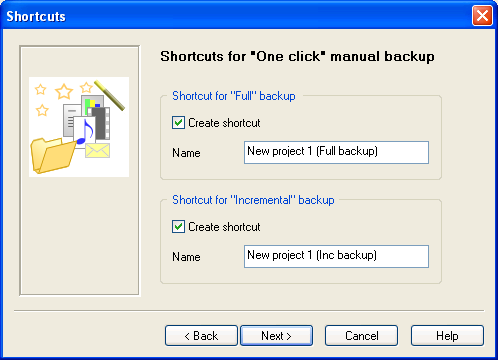
SC_PrjWizard32

If you don't need shortcuts, deselect checkboxes.
Note: this feature is present only in Professional and Standard editions.
p) Final step

SC_PrjWizard33

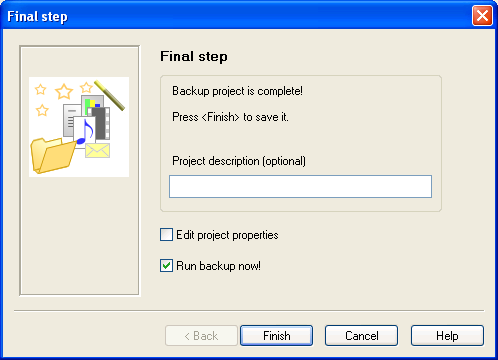
If you want to tune project more detail (special configuration for sub folders, exclude custom file or mask, etc), check option "Edit project properties".

Click "Finish" to save project.

2) Using "Selected file types" template
 SC_PrjWizard12

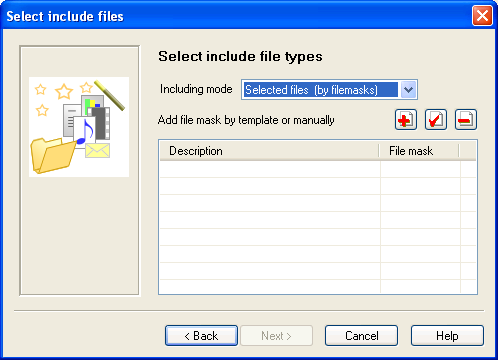
In "Selected file types" folder type mode, you can add custom file mask and also select it from templates.
  1. To add file mask press button Btn_Add_FileMask.
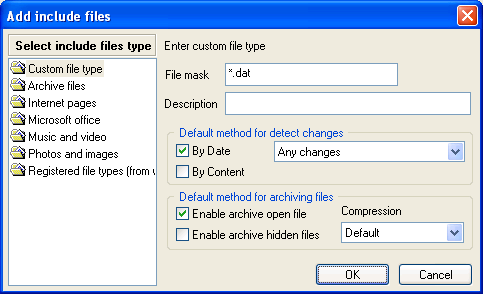
  2. To enter custom file mask: 
    1) Select "Custom file type" from the list at left. 
    2) Enter "File mask".
    3) If required, enter "Description".
    4) Select default method for archiving files:
        a) Enable archive open files  -  if this option is checked, files opened by other program (for example MS Word) will be backed up. Otherwise these files will be skipped.
        b) Enable archive hidden files - if this option is checked, hidden files will be backed up. Otherwise hidden files will be skipped.
            Note: By default it is unchecked because most popular programs mark temporary files as hidden.
    5) Select default method for detecting changes (use only in incremental archives):
        a) By date:
            Only new files  -  include only files with changed date newer than in previously saved archive.
            Any Changes  - include files with changed date compared to the previously saved archive.
        b) By content - include files with changed content. This condition will checked by CheckSum.
    6)  Press "OK" for save changes.

SC_PrjWizard13

  1. To select file masks from templates:
    1) Select included files type from the list at left (for example "Microsoft office")
    2) Select required file masks with checkboxes. Use buttons "Select All" and "Clear All" to quickly select and deselect all items.
    3) Press "OK" to save changes.

SC_PrjWizard14

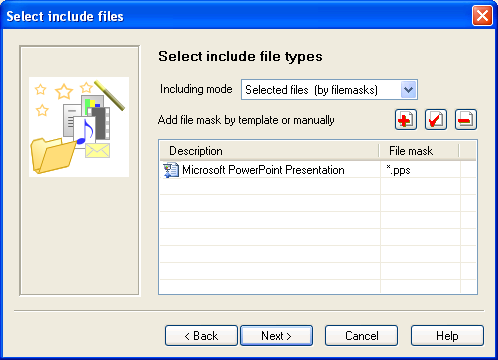
  1. You can see new file mask in list.
  2. Edit file mask by button Btn_Edit_FileMask.
  3. Delete file mask by button Btn_Del_FileMask.
  4. Press "Next" to continue.

  1. If required, on page "Select exclude files", add file masks as described above.
  2. See "Add new folder - summary" to continue.